I still remember my first tent purchase. I bought the cheapest one I could find — a massive, heavy “family tent” that took 45 minutes to set up and leaked during the first light rain.
After 15 years of camping across 30+ national parks, I’ve learned exactly what matters (and what doesn’t) when buying a tent. This guide will save you money, frustration, and wet sleeping bags.
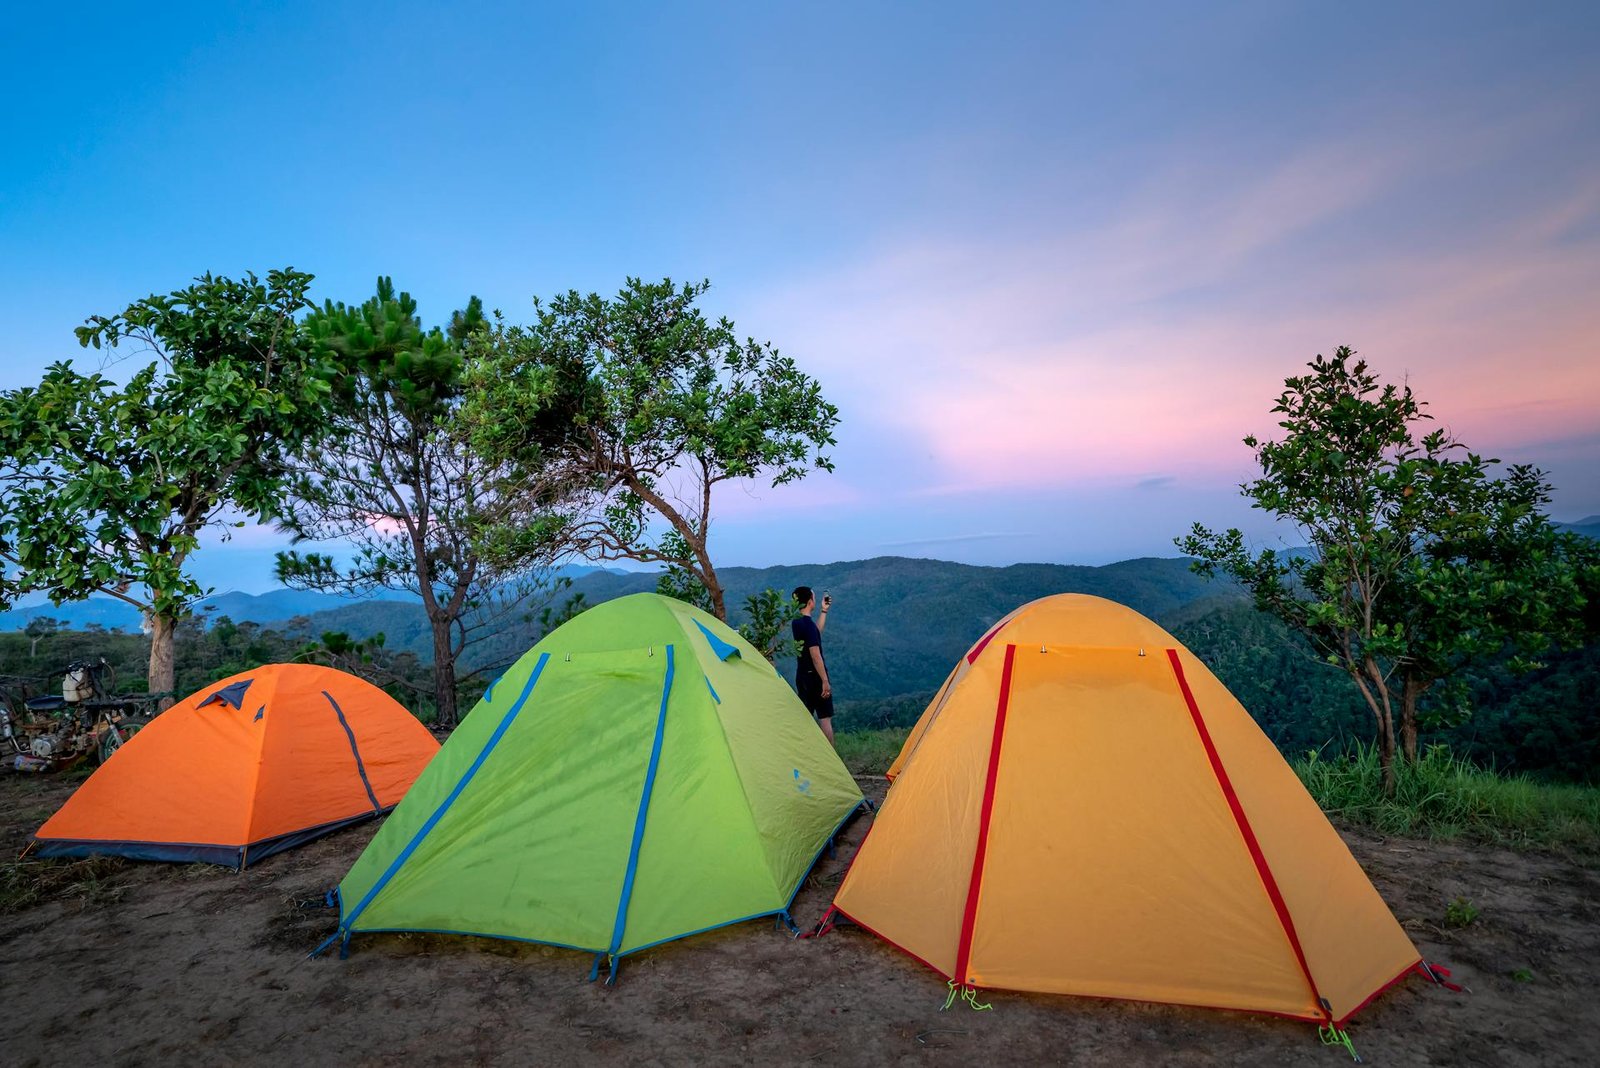
Setting up camp in the Pacific Northwest. This REI tent takes less than 5 minutes to pitch once you know the system.
- Understand Tent Season Ratings
Most tents have a season rating that tells you when they’re suitable to use:
3-Season Tents – Perfect for spring, summer, and fall. Most campers need this. Handles light snow but not heavy winter storms.
4-Season Tents – Built for winter and alpine conditions. Heavier, stronger, but overkill for most casual camping.
3-4 Season “Cross-over” Tents – A good middle ground for those who camp early spring or late fall.
My recommendation: Start with a quality 3-season tent unless you plan to winter camp regularly. Brands like REI, Marmot, and The North Face make excellent 3-season options.
- Choose the Right Capacity (Don’t Trust the Label)
Tent capacity ratings are… optimistic. A “2-person” tent fits 2 people with zero gear inside. Here’s the reality:
1-Person Tent – Tight fit. Good for ultralight backpackers. Interior width is typically 30-32 inches.
2-Person Tent – Comfortable for 1 person + gear. Squeeze for 2. Width is 50-55 inches.
3-Person Tent – Comfortable for 2 people + gear. Good for couples. Width is 65-70 inches.
4-Person Tent – Comfortable for 3 people or 2 with luxury space. Width is 80-85 inches.
My recommendation: Buy 1 size larger than you think you need. A 3-person tent is ideal for 2 people. You’ll thank me when it rains and you need to store gear inside.
Inside a 3-person tent with 2 people — notice the extra space for gear at the foot end. This makes rainy days much more comfortable.
- Single Wall vs Double Wall Tents
Double Wall Tents (mesh inner + rainfly) – Better ventilation, less condensation, slightly heavier. Best for most campers. The mesh inner allows airflow while keeping bugs out, and the rainfly provides waterproof protection.
Single Wall Tents (integrated waterproofing) – Lighter, faster setup, but more condensation. Good for ultralight backpackers and mountaineers. Often used in dry climates.
My recommendation: Get a double-wall tent unless you’re counting every ounce for backpacking. The ventilation alone is worth the extra few ounces.
- Tent Materials Matter More Than You Think
Denier (D) measures fabric thickness. Higher denier = more durable but heavier.
20D-30D – Ultralight, less durable. For serious backpackers who prioritize weight over longevity.
40D-70D – Sweet spot for most campers. Good durability without excess weight. This is what I recommend.
75D+ – Heavy-duty car camping tents. Very durable but heavy. Not for backpacking.
Hydrostatic Head (HH) measures waterproofing in millimeters. Higher is better.
1,200-1,500mm – Basic water resistance. Fine for light rain.
1,500-3,000mm – Good for moderate rain. Most quality tents fall here.
3,000mm+ – Heavy rain protection. Great for Pacific Northwest or tropical camping.
My recommendation: Look for 40D-70D fabric with 2,000mm+ waterproof rating. This combination gives you the best balance of durability, weight, and weather protection.
- Don’t Ignore the Little Details
These features make a BIG difference in real-world use. After testing dozens of tents, here’s what actually matters:
Color-coded poles/clips – Makes setup 10x faster. Match the colored pole to the colored sleeve or clip.
Vestibules – Covered storage for wet gear and boots. Essential for rainy camping. Look for at least one vestibule.
Gear lofts – Overhead storage for headlamps, phones, glasses. Keeps small items off the floor.
Pockets – Corner pockets for small items. More pockets = less clutter.
Footprint – Groundsheet protects your tent floor. Buy the brand-specific one or cut a piece of Tyvek.
Ventilation – Look for mesh panels and adjustable vents. Reduces condensation dramatically.
- Budget Breakdown: How Much Should You Spend?
Quality LevelPrice Range (2-Person)What You GetBudget/Entry$50-$120Heavy (5-7 lbs), basic materials, may leak in heavy rain. Fine for occasional fair-weather camping (1-2 trips per year).Mid-Range (Best Value)$120-$250Good materials, reliable waterproofing, reasonable weight (4-5 lbs). Perfect for most campers (5-15 trips per year).Premium$250-$500+Lightweight (2-4 lbs), excellent durability, premium features. For serious enthusiasts and backpackers.
My recommendation: Spend $150-250 on your first tent. You’ll get excellent quality without overspending. My personal tent is a $220 REI tent that has lasted 6+ years.
Night falls on our campsite in Utah. A quality tent creates a cozy home away from home.
- Top Tents I Recommend (By Use Case)
0 Comments